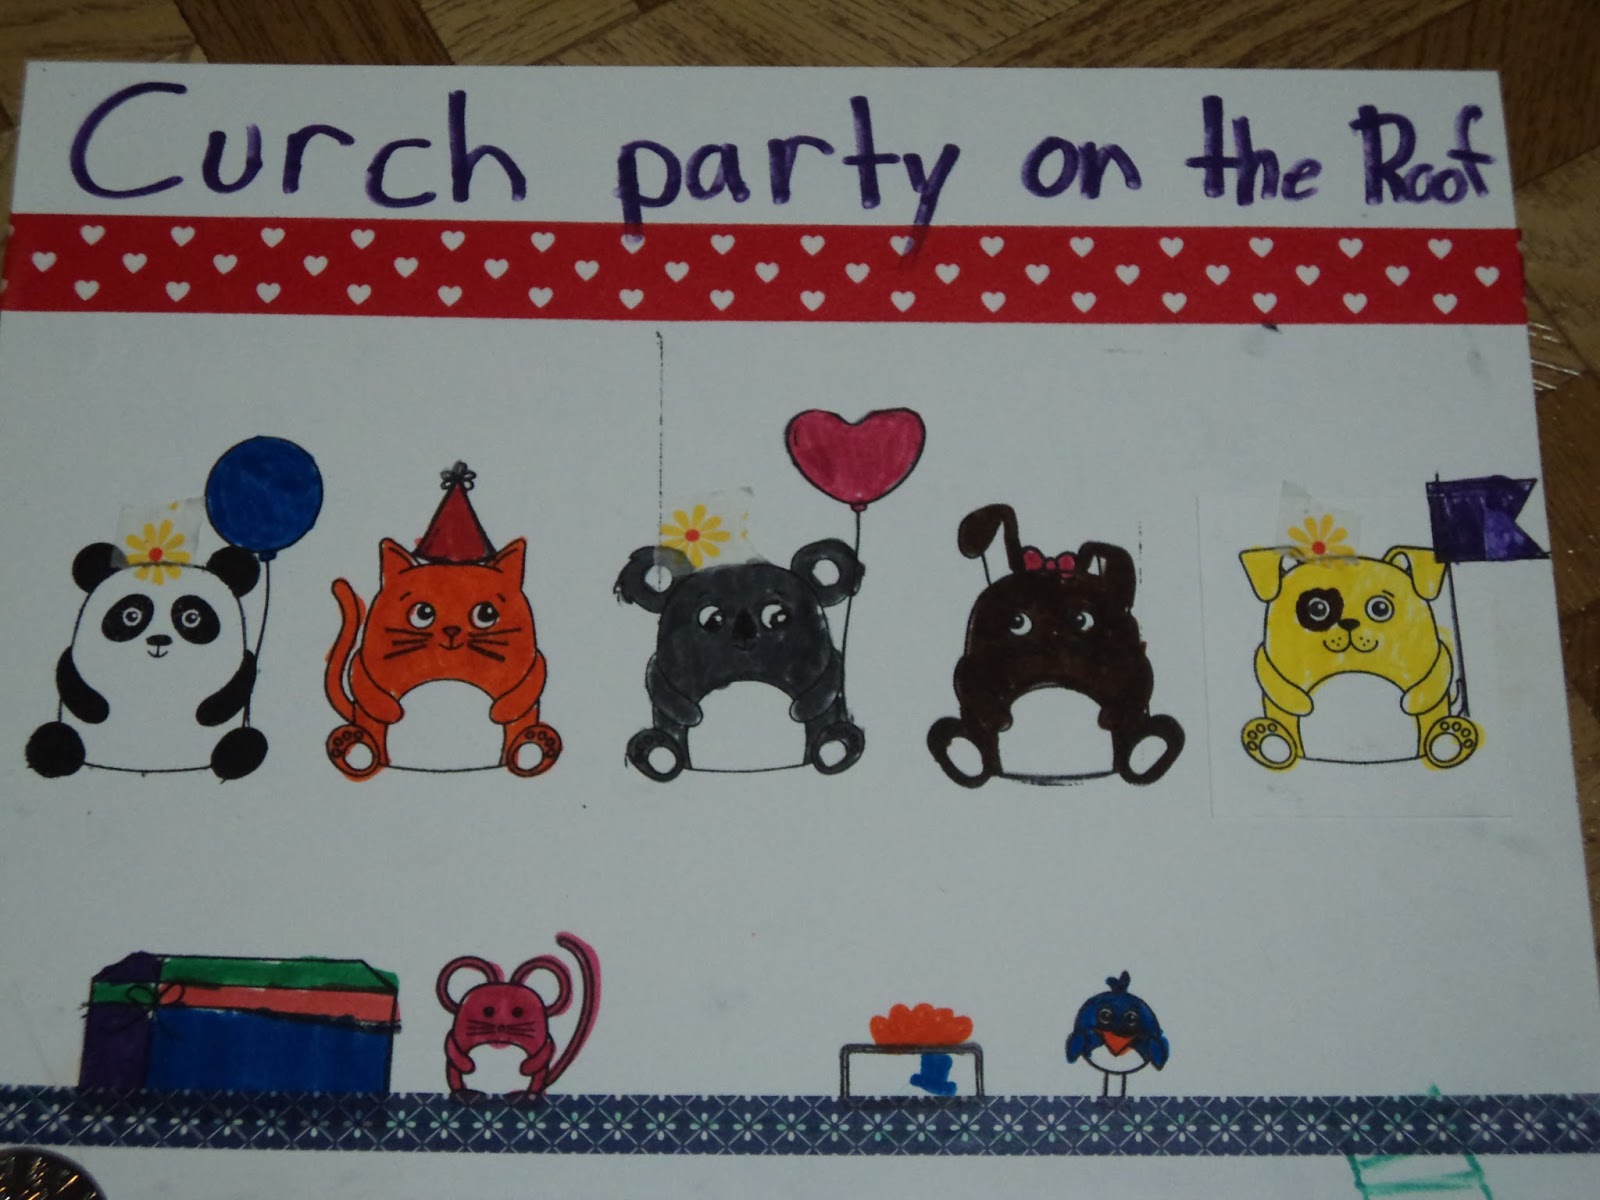
A couple weeks ago, my sister delivered to me a Challenge envelope. We like to make cards together and it's fun to throw ideas around at the table. But since Covid-19, we haven't been able to get together. This envelope contained all sorts of scraps, stickers, and bits that were left over on her craft table one day. She gave it to me to see if I could make some cards with it all. I finally finished the challenge.
I made 5 cards with everything in the envelope. I provided the card bases and a few little embellishments like foil or glitter glue. I also added sentiments or greetings on them. I'm going to add some details here about how I approach using up scraps to get a finished product and hope that maybe you'll find it helpful for using up the leftovers on your craft desk.
The very first thing I do with random bits and bobs is to sort them out by color family. This really allows me to see if I have enough of one color to make a card or if I'll need to draw in another color to have enough for a card front. Patterned papers are great for bridging color families and adding some visual texture to a card front. Scraps are small enough that you don't have to fuss too much with the pattern being too busy.
Let's look at the first card I made from the envelope.
Bottom's Up! The blue scraps in the envelope were various tones and the largest piece was blue vellum. I'll note here that I hate vellum and I never use it so I wanted to use it up in one big chunk. I figured the best way to do that was as a background. The scrap of water paper paired with the frog part allowed me to make a focal element that matched the vellum. The top part of the card was simply done to cover up the tape behind the vellum. I provided most of that scrap from the pile on my desk in order to tie in the two small leaf stickers I had in the envelope.
By sorting the scraps out by color first, I could easily see how much I had to work with and where I would need more and where I would have plenty.
So then,
Nobody Sweeter I still had some blue stuff left but since I wasn't sure how to put them together, I moved on to the pink pile. The pink family had these great patterned papers and a stamped image that was already colored in. I played around with the placement and finally decided to make the floral into a cake topper. The paper scraps were used up on a single card and I used some light bluish line stickers to define the tiers of the cake. The foam dot on the little butterfly was falling off anyway so I just removed it and glued it down flat. This one came together quickly because I could make the focal image from the scraps themselves.
After this, I decided to see what I could make from what I considered the gold family.
The gold family had only a couple stickers in it and I tried to pair the gold family with the green family. But somehow the shades of the patterned paper in the green family weren't quite vibrant enough for this brightly colored butterfly sticker. I had been provided with this green vine still on the Xyron sticker paper. When I pulled off the top part to expose the sticker, I noticed that a lot of the adhesive was stuck in the leaf portions. So I decided to foil it and see what happened. Then the copper colored foil would bridge the gap between the green and the gold families.
Since the fence piece was white, it would match anything and I put my greeting beneath it as it looked weird just hanging there. I pulled in some paper from the blue family as I decided that the butterfly looked best on the turquoise cardstock. The blue family also had the largest scraps of paper left.
So after I sort the scraps by color, I then look at their size. Will it fit the length or width of a card front? How big is it in relation to the other scraps I've got?
So sort by color first, then by size.
Then this happened,
This stamped image of a seed packet was in the envelope, already colored in purple and pink. Remember what I said about size? This element was the biggest thing I had left but I already used all my pink stuff for the "nobody sweeter" card. I was going to pair it with the blue family but I didn't have a lot left. The green patterned paper was double sided. It had a rusty orange color on the back (which might have worked well with the butterfly sticker) but I really liked this plaid pattern better. It seemed to match some of the deeper green tones in the leaves so I framed out the stamped image with it and added the word that was also in the envelope. The Hope word matched the green plaid and also covered up the gap between the thin scraps along the edge.
Then I was left with the leftovers from the leftovers. Now all I had was one or two things from different color families. These truly were scraps as I now had nothing to use as a focal image that had come in the envelope. So I pulled in a focal of my own to make it work.
What I had left was the patterned paper from the blue family and the metallic gingko leaves from the gold family. I could match the patterned paper with a turquoise base but I was unsure if I could get the leaves on there. They seemed very out of place with the paper. After putzing around with it, I finally decided to use the stickers as a cluster and I just grabbed the focal element that I had already finished laying on my desk. The metallic of the embossed image on the focal tied the leaves into the card so they didn't look so haphazard.
On the inside of this card, I used up the last strip of blue vellum that I had cut off the first card and put a sentiment over it to cover up the tape.
Now in conclusion, do I like all the cards? Not really. But I had a lot of fun and they're not all bad. I love the pink one and the last two. I'm not a fan of the first card because I just couldn't think of a greeting to go well with it. The yellow butterfly one seems a little "thrown together" to me. While I love that the foiling turned out so well, I wish I could have done a better job with the fence. That fence or gate was actually the back of a sticker so the side that is facing up is the shiny side...the side that nothing sticks to! So I couldn't stamp on it like I had planned to. I just overthought it.
Anyway, I hope this long wordy post was worth it for ya!
For those who are still locked down, keep it up, you're almost there! Stay at home and stay safe.
For those who are re-opening, stay safe and wear your mask for others beside yourself.
For those in New York State, we're getting there, people! Keep up the good work! Phase 2 will be here before you know it because we got this thing down!
-Wy