Showing posts with label playing card. Show all posts

Sunday, December 03, 2017

Divination Deck: The Green Set

If anyone is so inclined to check out my Etsy Shop, you'll find a new item that I absolutely love. I have plenty of ideas and plans for this in the future but for now, check out this link.

Chocolate Dragon Paper Etsy Shop

This is the Divination Deck. It has been in the making since 2013 and I finally just pulled it all together. I'll give you the story here and a few photos of my favorites.

Allow me to explain what it is and then I get into how it came into being. The Divination Deck is a set of 16 individual cards, each with it's own traits. These cards when shuffled and placed in a particular order or spread may allow insights into future events, choices to be made, or just why you feel the way you do. You can use them to divine the future or probe more deeply into yourself. It is similar (but different) to Tarot. This being said, I created these cards for pure entertainment purposes; a showcase of my artwork.

The cards are standard playing card size (2.5" X 3.5") and are printed on 100 lb cardstock. Each card has an identical back. They are laser printed and hand-trimmed, so there are some minor imperfections that vary from card to card. The set comes with an instruction sheet that outlines a simple spread of cards as well as the traits that each card represents. After using the cards a few times, these traits can be easily memorized. The set with instruction sheet is packaged into a small coin envelope. (Mostly, because I don't quite have the money to invest in printed card boxes but I hope that will be possible with future sets.)


The Story:  A few years ago, I bought a book called Wizardology. (Remember those "ology" books? There was a whole slew of them. I loved those books.)  In that book, was a deck of "Wizard's Cards" to be used for divining the future. It was a set of 8 as I recall and had two different meanings depending on whether it appeared right-side up or upside-down. I was fascinated with the cards and the book encouraged the readers, aspiring wizards, to create their own deck.

Cards have long been used for Divination. Tarot cards are best known for their Major Arcana but the whole deck is a workable card game. I had always been interested in the Tarot but was intimidated by all the cards and meanings. I saw this Wizard's Deck and thought it a nice slimmed down, bare-bones sort of Tarot. So I made my own deck.

Of course, I couldn't just replicate the one in the book. I didn't like the fact that each card had a double meaning. So I separated each into it's own card. Each card represented two "traits" and a personality type. For the simple spread, two spots were determined to be people of influence and yet not all the cards were connected to a person. So I filled in all these gaps to make the deck work the way I wanted. I wanted certain things to be Clear and others to be Interpreted.

My first Divination Deck was born.

This idea percolated on the back burner until I began making trading cards, both ATC (artist trading cards) and LTC (letterbox trading cards). (Letterboxing is a hobby I used to participate in on a regular basis. While I still like it, I just don't partake like I used to.) The idea of the Divination Deck resurfaced as they were "cards". I loved to make alternate playing cards; like the Queen of Spiders (instead of spades) or the King of the Jungle. They were cards that could be used as gaming cards but also just admired for their art.

Anyway, I pulled out the idea and created a set of Divination Cards for a letterbox postal ring. Each card was handmade and stamped with a hand-carved rubber stamp I had carved to fit my theme. I even stamped a background stamp on the back of the card so the deck could be used. I made a deck for each "player" and included the "rules" of the deck and how to use it. I was rather proud of it. I made a set for my brother that he used to keep about his guest room, in case anyone had a hankering to tell the future.

The idea fell again by the wayside. I had made a deck; project finished.

Except that a few years ago, I took up art. I became an addict of making things with paper and paint. Once again, the Divination Deck idea called to me. What if I could make these cards with my own artwork and scan them in to reproduce decks? My job at The UPS Store educated me about how scanned artwork could be reproduced on a small scale. My idea became to make the artwork on a 8 X 10 or 9 X 12 canvas or paper that could be easily scanned into a digital file.

That meant I had some limitations. First, if I intended to sell them (and I did), the artwork couldn't include anything that was copyrighted. So if I collaged, I had to be careful about what I added. Second, these works had to be flat. The scanner wouldn't read 3-D items well and could leave a shadow. Thirdly, I had to stick with vertical layouts and rectangular proportions. Since these would be cards, it made no sense to do a landscape or make the artwork square. It would be a waste of printing.

So it began.
"Shadow" was the first "card" I completed. The original artwork is a mixed media piece on an 8 X 10 canvas. I debated on adding the actual word to the artwork and decided against it. The word could be added to the digital file for the printing of the cards. This also added another limit to the art. I had to be sure I had some "blank" space to add the title of the card.

It took me two years to complete all the artwork and most of it was done this last year. After I did "Shadow", I slacked off. I finally set my goals down on a check list and marked off which cards I had done and how many I had to go. Looking at the check list was a great inspiration to get it in gear.

The last couple of months has been scanning and setting up the file, printing and trimming.
It's finally completed. If you're interested in owning a deck, I have them for sale at my Etsy shop.

Do these next two cards look familiar?
These were tested right in my art journals. Pages that were shared right here on my blog.

Who knows what my future art journals will inspire?

This first deck is my Green Set. I figured I should give it a name as I plan to make other sets with different artwork. (I already have two cards done for a new set.) I will even change up the backs and add a different "spread" in the instructions.

I do have plan.

But the Green Set will be the set that will be unlimited, I think. Other sets might not be.
So thanks for hanging in there with me. Thanks for reading to the end!
I might not have too much time for blogging during December. (I hope to get my art journal assignments done, though!)
So have a Happy Holiday.
-Wy
Need that link again? Go HERE.

Thursday, August 27, 2015

TBT: July 29, 2012


A new feature I'm trying to keep up with is Throwback Thursday. So let's see what old posts I can dig up.

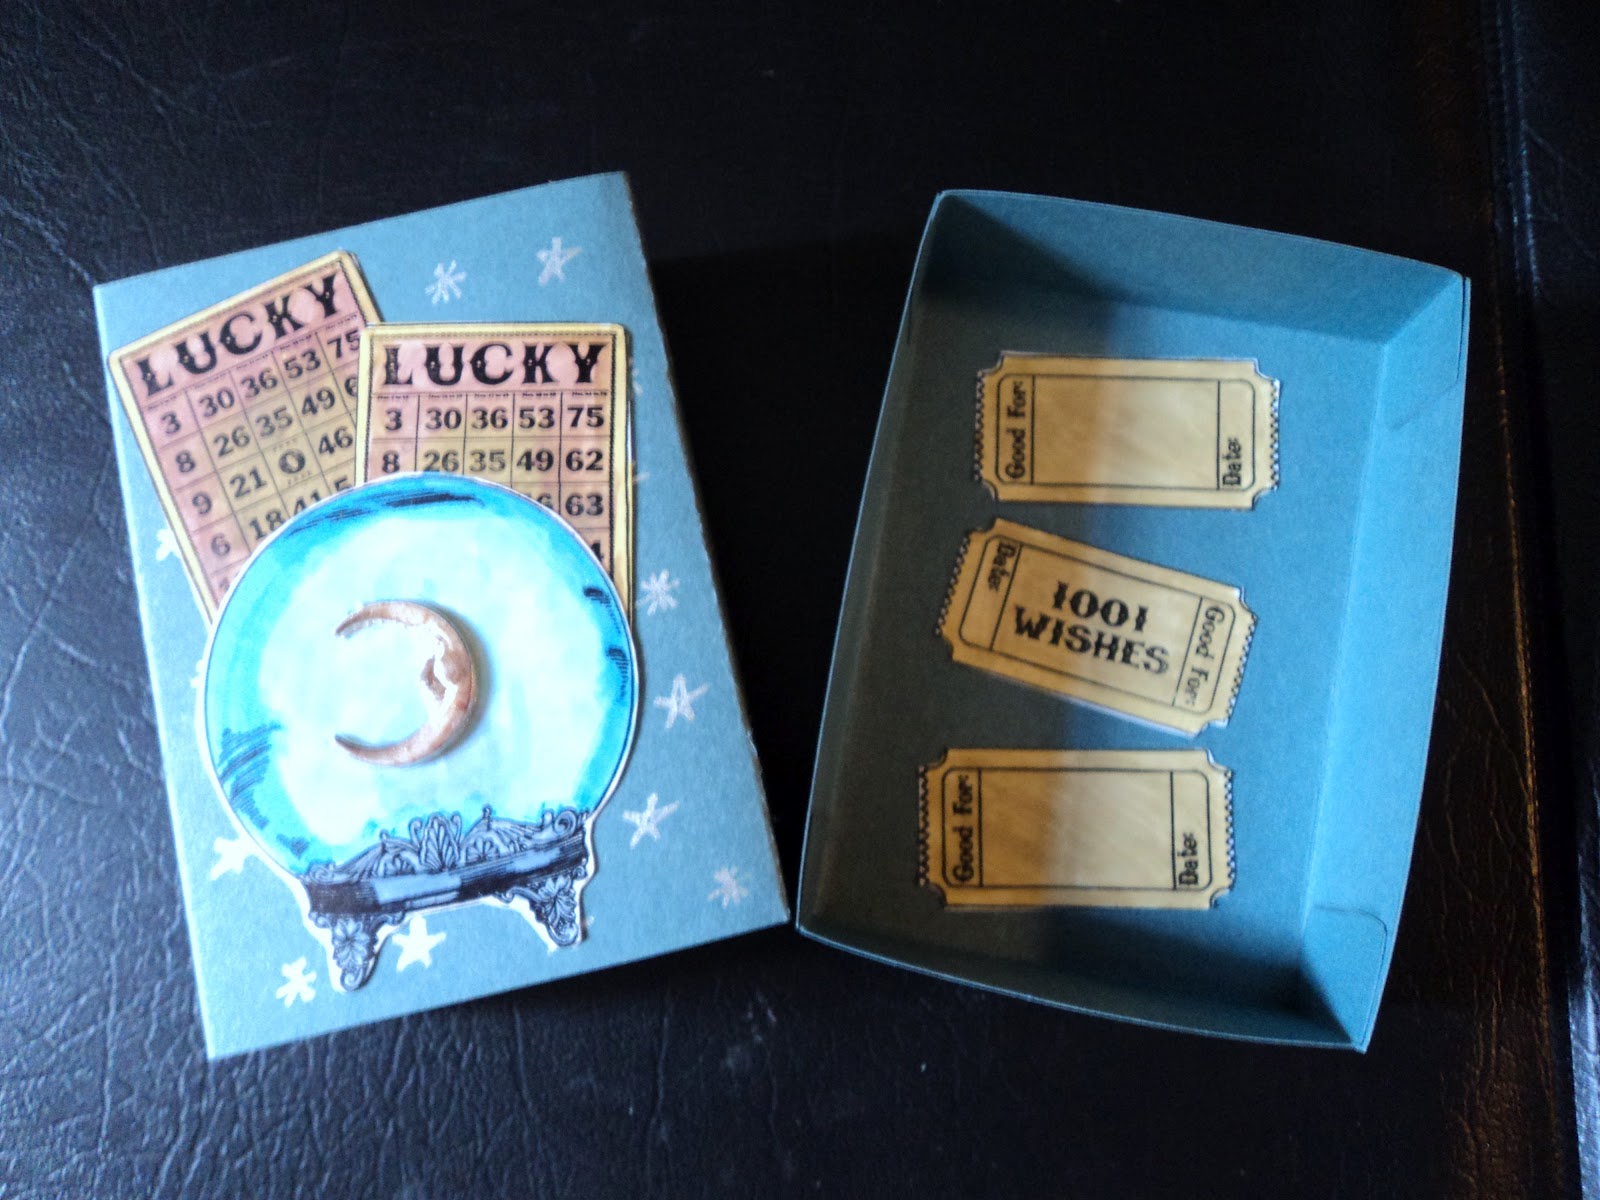
Here's an old post from July 29th, 2012 about a few projects I made with Coordinations cardstock and envelopes. I think I was trying to get on a Design Team for them. Good thing that didn't work out because I think those might have been my only ideas for using just plain ole cardstock!

The card wasn't too bad...I was apparently into ripping paper then, too. LOVE the torn edge look!

The envelope card was a bit random and I don't think I took very good photos of it.


But I still love my Matchbox for ATCs. I even made a few more of them afterward. The Coredinations cardstock is really good for that sort of papercrafting. It's very thick but still takes a good scoring. And the double-sided nature of some of the "packs" are very useful for boxes and such. With die-cutting being so popular (especially for boxes, gift bags, and other "some assembly required" items), this cardstock is a good thing to have in your stash.

Not that I have a lot of it...I still have the same paper pad that I used for all these projects! It was the Black Magic stack..one side of black, one side of a color.

This post reminds me that I should pull out the template I used to make these little boxes. It wasn't marketed as a template but I used it as such, and good thing I did, as the company (7gypsies) is now out of business. (So sad, I really loved their stuff with only one exception. Perhaps another time, I'll explain it.)

In fact, I just saw a good idea for using playing cards to make a countdown calendar for Halloween. This may be a cool box to store it in or give it as a gift! (Note to self...)

I even put a bonus card down at the bottom of the post and honestly, I still kinda like it. Another permanent addiction of mine seems to be circles.

In all of my de-stashing over the last couple years, one thing I have never let go of is cardstock. It is the most versatile medium for my creations. Yea, I get the urge to upcycle glass bottles and jars, and paint over wooden shadow boxes. But really, I like to make paper things...paper boxes, little tags, and my own versions of playing cards.
I have to get back to that.
I need to make more...little things.

Thanks for reading!
--Wy
"It's not one big thing; it's a bunch of little things."


Tuesday, February 18, 2014

Altered Playing Cards: Eclectic Paperie Challenge

I was super excited to see this challenge. I LOVE working with playing cards. I only wish I had given myself a bit more time to really get my ideas running.

You can see some great examples over at the challenge site: Eclectic Paperie. I know I've got plenty more started and hopefully, I'll be sharing them over the next few weeks.

Here's what I did for the challenge:


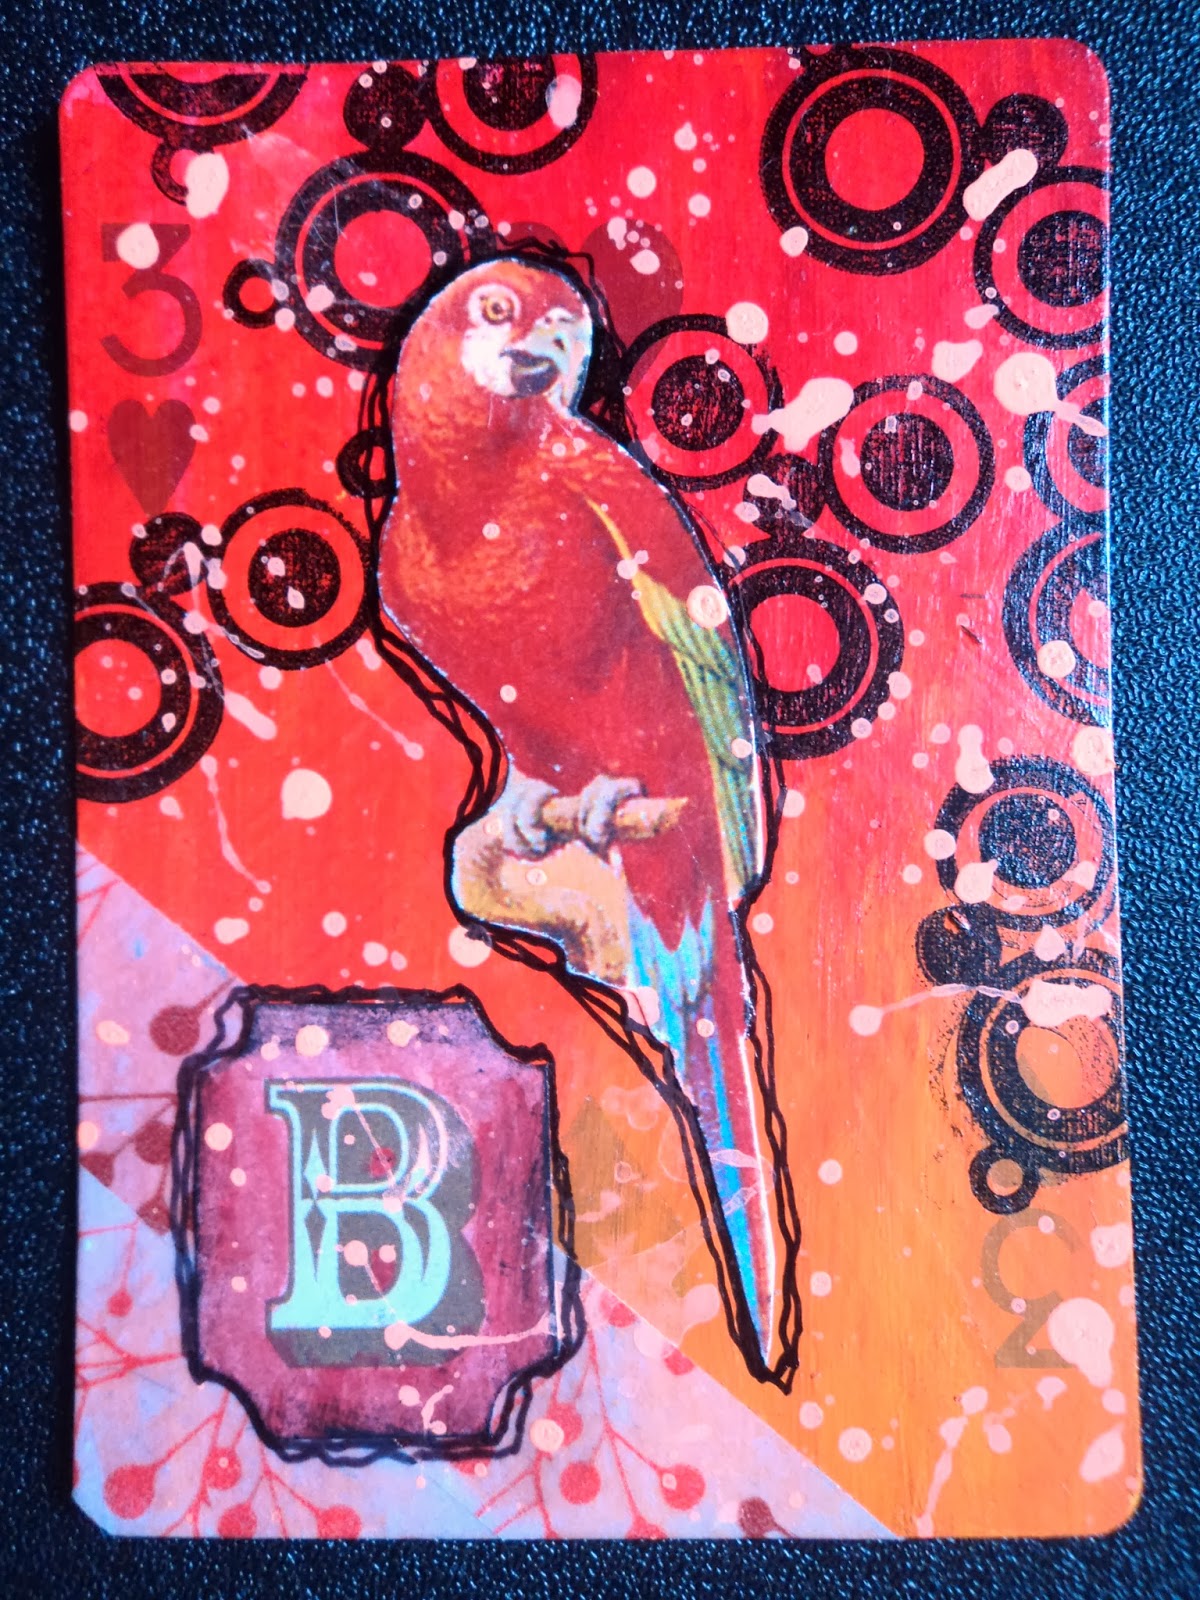
B is for Bird:  I've had this parrot sitting in my space for too long. I prepped the card by sanding it then I used yellow and red fluid acrylic to make the background color. I added washi tape to a corner and some circle stamps in the opposite corner. I added the collage elements with gel medium and splattered neon orange paint over it all. Then, just outlined with some black sharpie.


I was really just experimenting with a bunch of different media and what would work on the playing card surface with/without prep. I just liked how the colors called out to my bird. I really wish the neon orange showed up better in the photo but for some reason my camera wanted to read it more white...maybe it really is a bright color!


After I did this, I also did this card:


Stretch your Wings:  Another experiment with backgrounds, really. This card was sanded first then I used alcohol ink on it. I was testing it against an unsanded card and I liked the results on the unsanded card better. But this green looked so foliage like that I added a small tag (colored using Dylusions spray and copper Glimmer Mist). I like the idea of the butterfly stretching over the edges of the card and that gave me my words.


The butterfly is a hand carved stamp done from a picture of an actual monarch from an old identification guide. I stamped in Versamark and embossed it with Obsidian Violet powder (Lindy's Stamp Gang). I colored it with Derwent Inktense pencils and then went over that with Ice Silk's Acrylic Glaze to make it shimmer.

I'm sure I'll be making more as I had plenty of experimental cards with alcohol ink on them!
--Wy
"One must have sunshine, freedom, and a little flower." --Hans Christian Anderson

Featured Post

The Chocolate Game

 Let's talk about something sweeter than my other blog posts of late. Let's talk chocolate. But no guarantees that anything I want t...