A quick and easy background can be made from Distress Stains (or paints!) with that nifty little dauber top! That's right...big round DOTS! It's really a no-brainer background but it's super fun to create. All you really have to do is choose your colors, grab your black pen, and go to town!
Here's a few photos of how I made one for a birthday card for my sister.
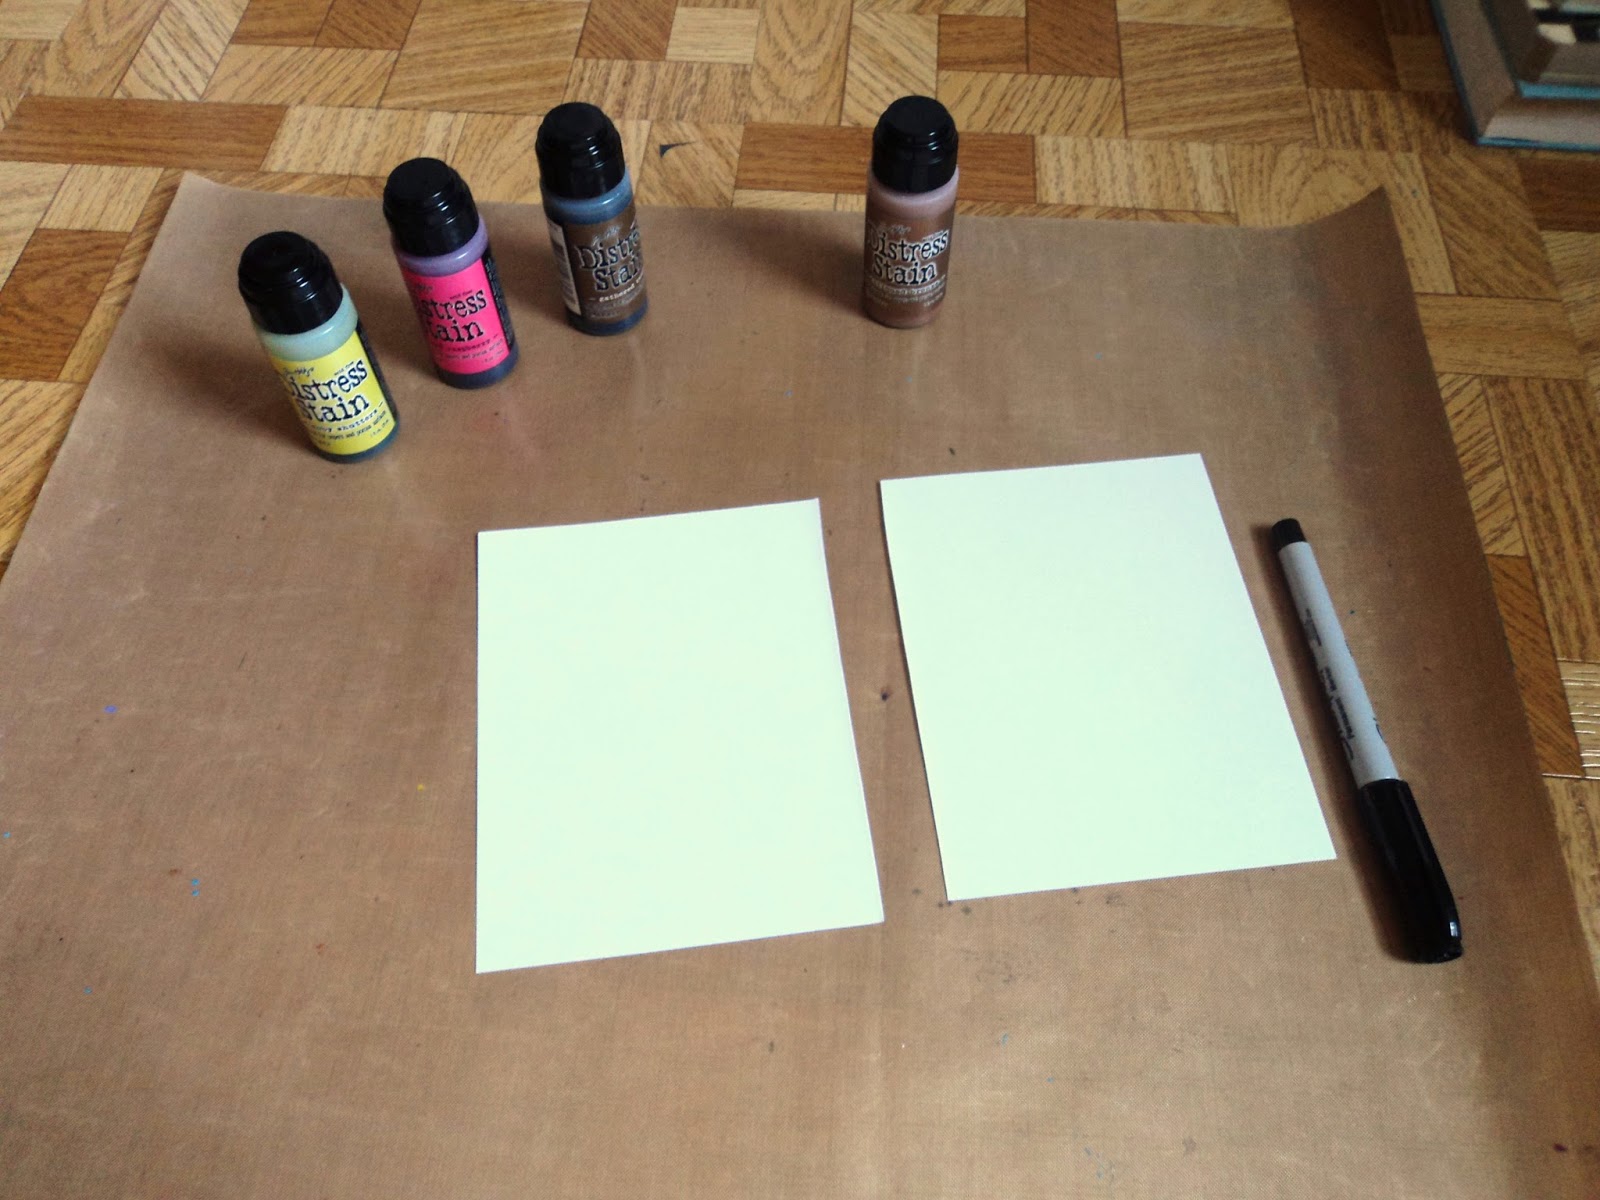
Here's what I used for supplies: Distress Stains (3-4 colors), sheet of light-colored cardstock, permanent fine line pen (Sharpie black Extra fine tip), craft sheet
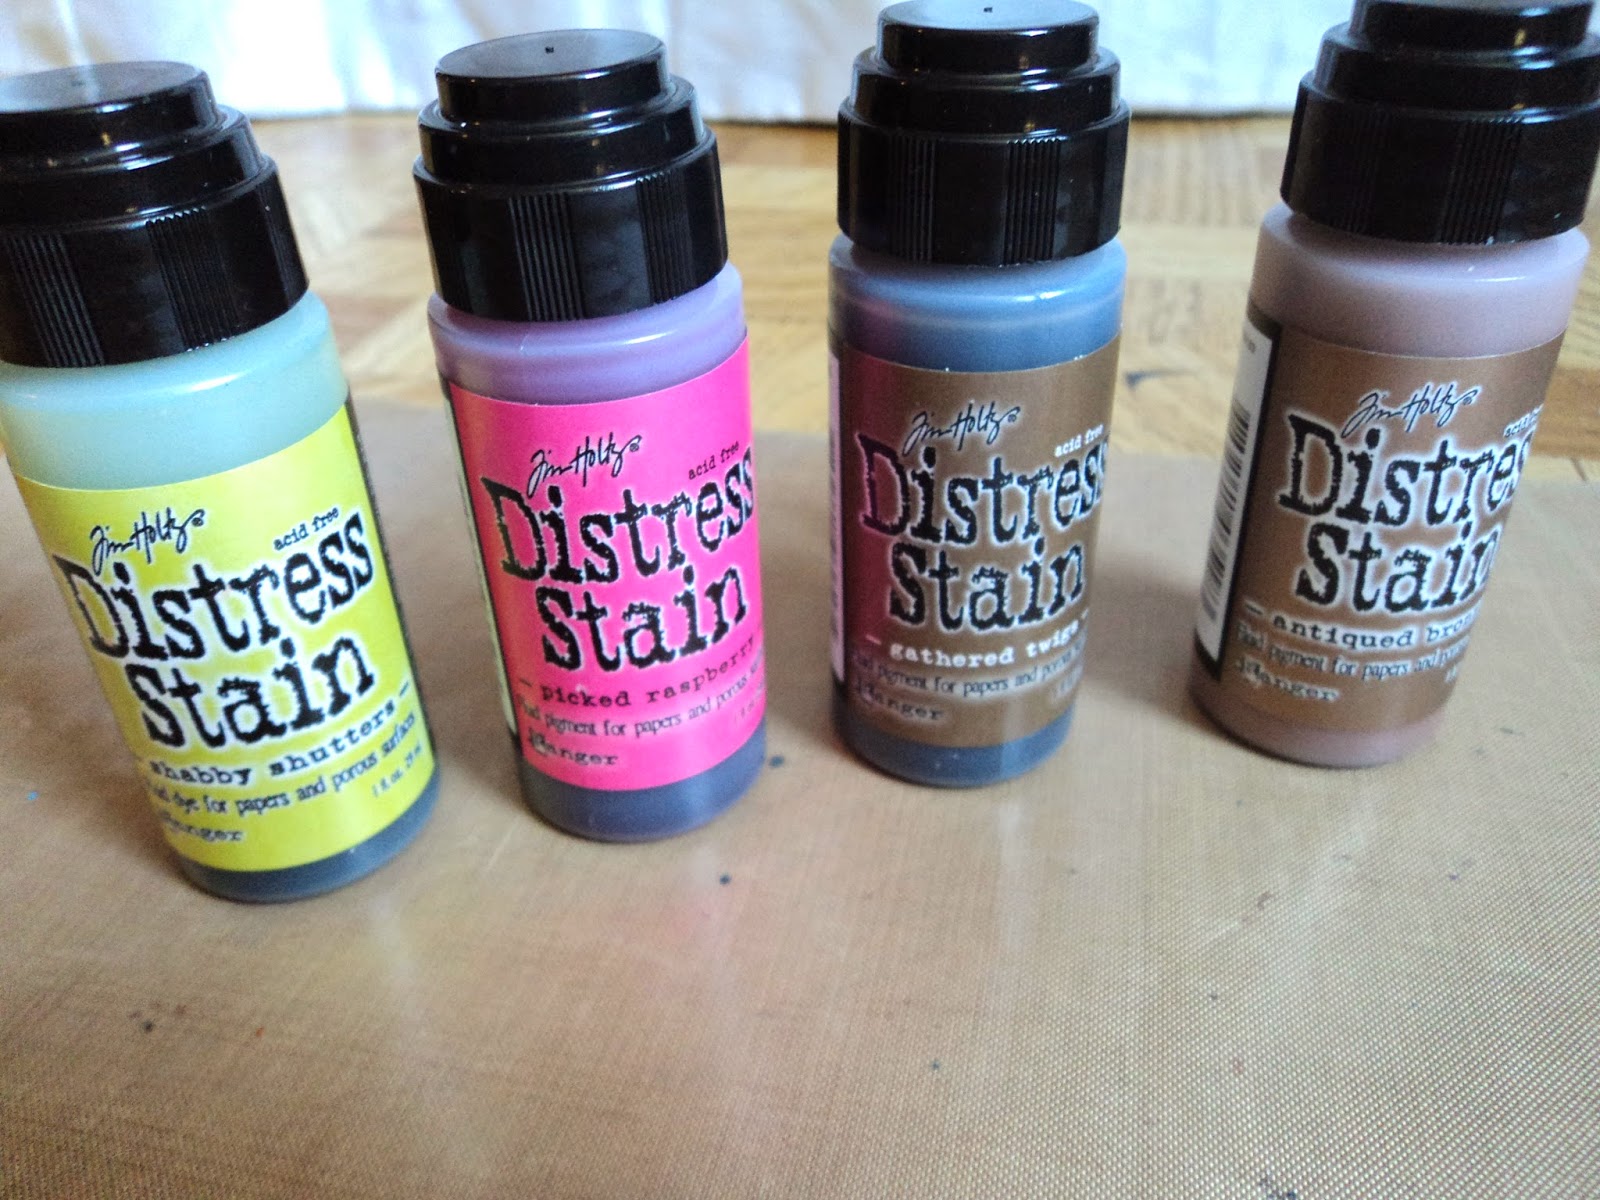
I used these colors: Shabby Shutters, Picked Raspberry, and Gathered Twigs for my dots. The last color is Antiqued Bronze (a metallic) and I only used that around my edge once my background was complete. Three colors seemed perfect for the size of the card I was making. I chose these colors as they reminded me of a vintage chocolate shop!

You may have to dab the stain onto a scrap paper or your craft sheet to get the top nice and juicy. If its dry, you're dots will look incomplete.

Once the dabber top is nice and wet with the stain, just press it firmly onto the paper. Don't slap it on there as that will cause splattering at the edges. You want a nice crisp edge to your dot. (though splattering is another great thing that can be done with these stains! Try that, too, while you've got your stains out!) Allow some time to let the stain soak into the paper and avoid wiping your hand across it until it's dry.

You can work however you feel most comfortable to create a series of large dots all over the cardstock. Because I have a weird need to have my dots pretty evenly spaced and to avoid two of the same color together, I stamped one dot at a time and alternated the colors. I basically made a dotted line down one side of the card switching up the colors to each dot.

So what you end up with looks like the above photo. The dots are in a grid like pattern, which is what I liked; it didn't leave too much white space and some of my dots still fell off the edges.

Here's where the pen comes in. Just adding a sketchy outline to the colors makes them feel more completed and more a part of the page. I just went around each dot with the Sharpie and made sure I had some imperfect curves.


Once the dots were finished I just added some Distress Ink around the edge of the whole piece then went over the edge with the metallic Distress Stain to form a thin border. (sorry forgot to take a photo of that!)
My background cardstock was a card that I cut in half to experiment on. It wasn't very thick, I'm guessing a 67 lb. The stain did warp the paper a bit but since I was going to stick it onto the front of another card, I didn't mind. But I'd probably use a thicker cardstock in the future.
I made my dots in a very "grid-like" pattern. But my first round was more random:

So just experiment.
Also, though I didn't use Distress paints (or any other media with a dauber top), the technique would work the same. Just use the dauber as a stamp rather than a brush. When using Distress Paints, you can work on darker colored cardstock as the paint is opaque and would show up against the paper. Stains won't do this so it's best to use a light colored cardstock.
You can also dress up the dots any way you like. You can add some glitter to them, or Glossy Accents (to make them shine and give them dimension), or even draw a little pattern in each with your black marker. I'm going to be experimenting with these ideas next!
I'm discovering that the best backgrounds are the ones I make myself from scratch. I will not be intimated by the blank white paper!
Have fun!
--Wy
"If you are ashamed to stand by your colors, you had better seek another flag." --author unknown

No comments:
Post a Comment